
Download the software : https://downloads.tricefy.com/tricefy_uplink/downlink.exe
Tricefy Uplink uploads data from your ultrasound system to the Tricefy Cloud.
 Learn more about Tricefy Uplink
Tricefy Downlink downloads content from Tricefy to your clinic's network/computer. In this situation, both Uplink and Downlink are installed on a network computer (not necessarily the same computer):

Download Destination
Downlink needs to know where on your network to download data from Tricefy. In most cases, this will be a shared folder - create the folder on your network, making note of file path.
- Examples
- C:\tricefy\pdf
- I:\folders\tricefy\pdf
Installation
1. Download the software : https://downloads.tricefy.com/tricefy_uplink/downlink.exe
2. Locate the executable (most likely in the Downloads folder on your computer or in the Downloads bar at the bottom of your browser
3. Double-click the .exe file to start the installation wizard:

- Click Next
4. A standard license agreement will display:
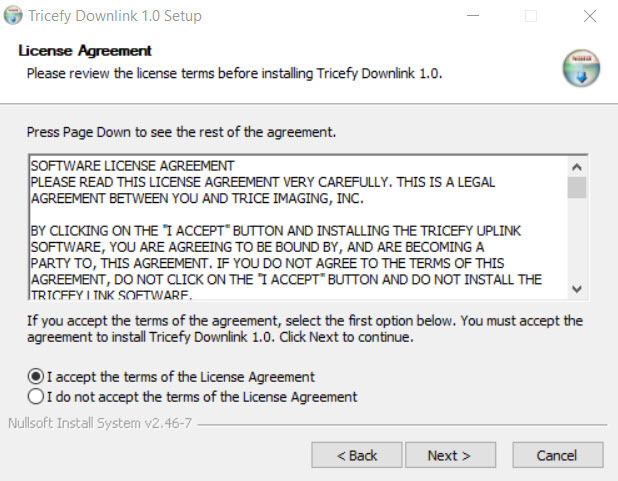
- Accept the terms and click Next
5. Specify the settings on the final screen:

- Enter the file path that you created as the download destination
- You can copy and paste the path as well (right-click the path and select Copy):

Note: Make sure the URL entered into the setup wizard does not end with a backslash (this occurs if copying/pasting from the command line rather than the file explorer)
- Select the Folder Name Format
- A folder will be automatically generated for each study downloaded; the selected option determines how that folder will be named
- Choosing None will download the content directly into the destination folder, instead of creating a sub-folder
- The default and recommended setting is Patient Name_Patient ID_Study Date
- A folder will be automatically generated for each study downloaded; the selected option determines how that folder will be named
- Select the File Output Format
- Leave the default setting - Consumer Format
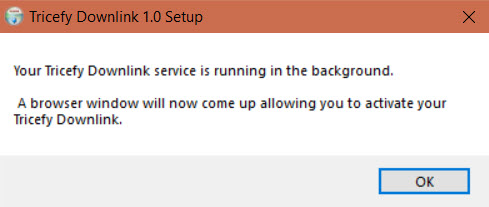
6. Click Install to complete the installation. A message will display confirming that installation was complete:
Activation
Immediately after installation, a browser window displays to activate the new Uplink. If not already logged into Tricefy, a login window will display first.
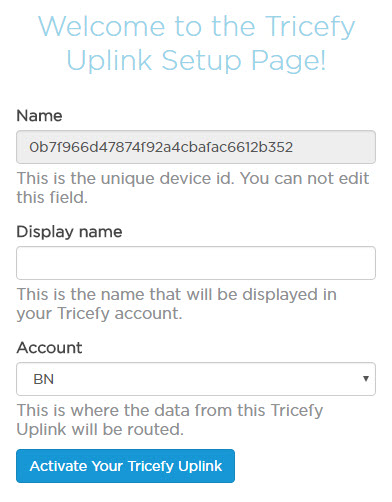
Enter a Display Name (something descriptive so that you can distinguish this Uplink from your current one) and select Activate your Tricefy Uplink.
Next Steps
Now that you have the required software, you'll need to create a Local Study Route in your account settings. Once this is set up, you export data to the destination folder by using the Send to menu at the top of the Study List or by setting up an automatic process.
Note: Clinics looking to automatically generate and download PDFs containing study contents will need to create an automatic process after setting up their Local Study Route.
Instructions for Local Study Routes
Instructions for Automatic File Export
 Copyright © 2016-2018 Trice Imaging, Inc. All rights reserved. 1343 Stratford Court
Del Mar, CA 92014
Copyright © 2016-2018 Trice Imaging, Inc. All rights reserved. 1343 Stratford Court
Del Mar, CA 92014