Automation rules automatically process images based on data (email addresses, names, labels, etc.) entered into the imaging system prior to an examination. Tricefy uses this information to automatically send studies to patients, apply labels, and other automated actions.
 Instructions on creating a new automatic process.
When creating a process to automatically create a PDF of all study images, choose Automatically Create and Attach a PDF report of the Study as the automation type. Contents of this study are determined by the settings within the automation rule and include:
- Summary page (see example below) with a link to the study
- Study images (thumbnails)
- The first frame of any cine clips
- Any reports or other PDF documents attached to the study (
- These documents will be placed at the end of the PDF
After the new process has been created, the configuration screen displays.
First, select Add New Condition to dictate what triggers the automated process. It is important to note that a condition is not required for creating an automatic process. If conditions are not added, the automatic process is always applied.
Select the red X to remove a condition.
If adding a condition, select an option under the When drop-down menu to specify when the automation is applied:

- Choosing an option under Instance will automatically create PDFs for the following instances:
- Destination AE Title or Extension will create a PDF each time a specific imaging system is used
- We created two stores when configuring the ultrasound system
- These stores are typically named "archive" and "patient" -refer to your DICOM settings
- Enter the name of the store into the Equals text box
- We created two stores when configuring the ultrasound system
- Is or contains a PDF will create a PDF each time the study contains a PDF document
- Leave the Equals text box empty
- Destination AE Title or Extension will create a PDF each time a specific imaging system is used
- Choosing an option under DICOM Fields will create a PDF each time specific information is entered into that DICOM field
- Type the information that needs to be entered into the Equals text box
Next, complete the following settings:

- Wait time: This is amount of time between when the study is uploaded to Tricefy and when the PDF is generated
- 15 minutes is the recommended wait time for most systems
- Select 30, 45, or 60 minutes if your system is slower or integrated with an EMR
- Select Instant if you would like the PDF made without any delay
- 15 minutes is the recommended wait time for most systems
- Uncheck Include Images to create a PDF without any images
- PDF will only contain a summary page (see example below)
- Uncheck Include Secondary Captures to exclude items that are not images or PDFs
- This includes SR reports and images exported from an EMR or other system
- Check Append PDFs to include any PDFs attached to the study at the end of the document
- Check Use Anonymous Link to replace the permanent link (default) with an anonymized patient link
- Use this option if intending to share the PDF with patients
- If including secondary captures, we recommend leaving Secondary Captures Use Full Page checked
- Secondary captures often contain text, which is hard to read within a thumbnail
Select Update Automation Settings to save the content on this screen and return to the Automation Setup page.
This process is now listed under Saved Automations, where it can be edited, deleted, or disabled.
Sample PDF
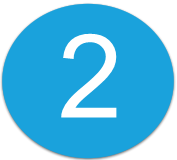
The PDF will automatically generate once all files are uploaded and the wait time has elapsed. You will see your PDF within the study:
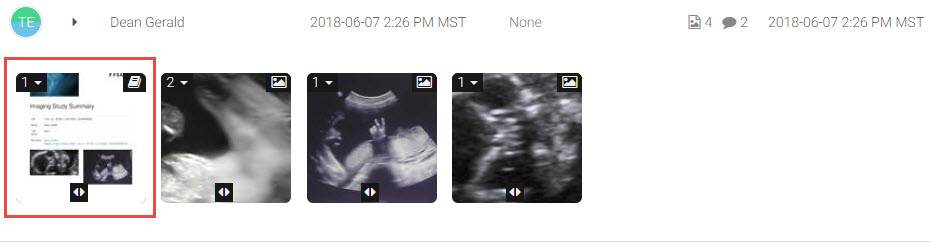
Select the newly-created report to display it in the viewer:

The PDF will have a cover a page that includes the patient's name, thumbnails (if Include Images is selected in the automation settings), as well as:
 A Unique ID that is applied to every study
 A link to the study
- If Use Anonymous Link is selected in the automation settings, the link will be a patient link with all identifiable information removed
- If Use Anonymous Link is not selected in the automation settings, the link will open the study using the Tricefy viewer
Sources
Selecting the automated PDF within your study while having the right-side info panel opened, will always have the Source (AE Title) as "automation" and Destination (AE Title) as "study-pdf":
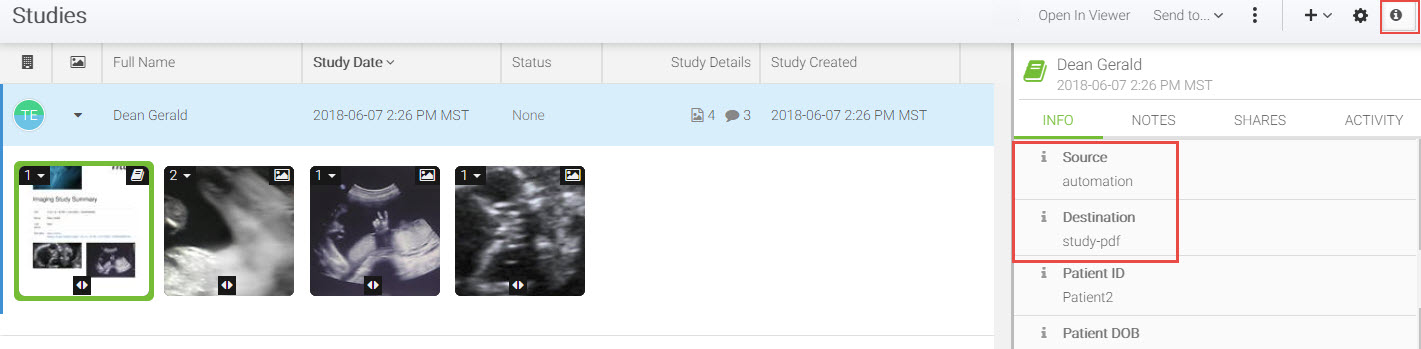
You can use these sources to create additional automation rules, such as automatic labeling.
Automatic Download
If you would like to automatically download your study PDFs, congratulations, you are already done with Step 1! To proceed:
2) Install the Uplink for downloading content from Tricefy
Learn more and view instructions
3) Create a local study route (within your Account Settings) to tell the new Uplink where to export your PDFs (this will be a location on your local network)
Instructions for local routing
4) Create a second automation rule to automatically download study PDFs as soon as they are generated
 Copyright ©