Follow the process below to configure your ultrasound system to send data to Tricefy.
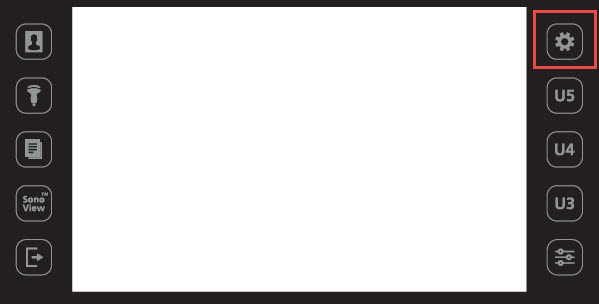
First, press the cog icon on the side of the touch panel to access the Setup screen:
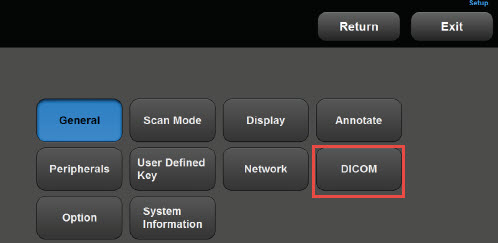
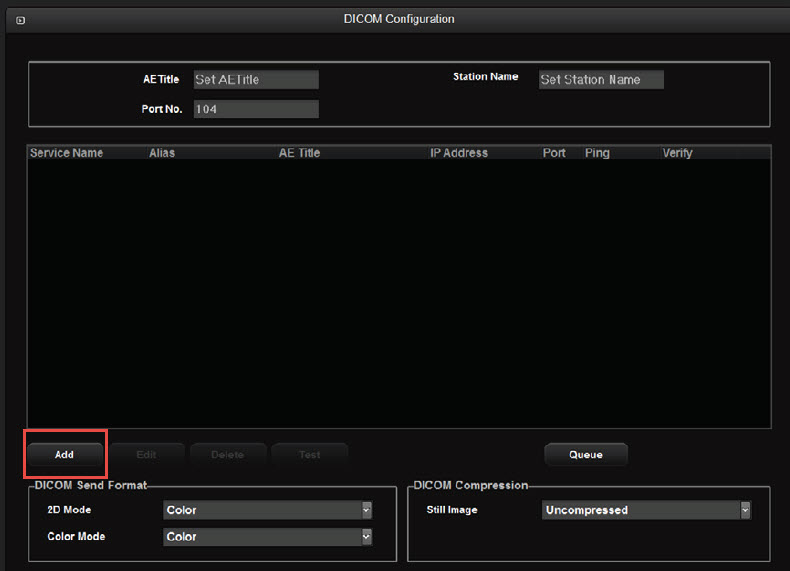
Next, select DICOM to view the DICOM Configuration screen:
This screen allows you to add new stores. These stores are like warehouse receiving centers; they receive the data from your ultrasound system.
We will create two stores: one for sending images to patients and one for archiving.
First, we will add the archiving store by clicking the Add button:
Enter the following information:
Service: Storage
Alias: Trice Archive
AE Title: archive
IP Address = shown during installation or refer to Account Settings
Port = port Uplink was configured to listen on during install (refer to Account Settings)
Press Save. We will return to the DICOM Configuration screen. Next, we will add the patient-sharing store by clicking the Add button again. Follow the steps outlined above and enter the following information:
Service: Storage
Alias: Trice Patient
AE Title: patient
IP Address = shown during installation or refer to Account Settings
Port = port Uplink was configured to listen on during install (refer to Account Settings)
Press Save again.
Our new stores are now listed on the DICOM Configuration screen. The last thing we want to do is make sure the DICOM Compression setting is set to JPG Baseline.

To correct the compression setting, click on each service listed above and select JPG Baseline from the drop-down menu.
We can make sure our system is working by pressing the Test button. This button only illuminates when a store is selected. A Normal result means you are ready to send studies to Tricefy.
The DICOM Configuration screen also allows you to decide when to send studies:
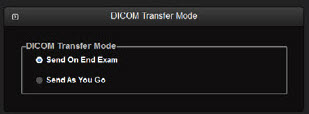
- Choose Send on End Exam to send studies by pressing the End Exam button.
- Choose Send as you Go to send studies when individual images are saved.
 Copyright ©