Studies received from Tricefy are populated on your Studies screen. Select Studies at the top of the page to access this screen.
Screen Layout
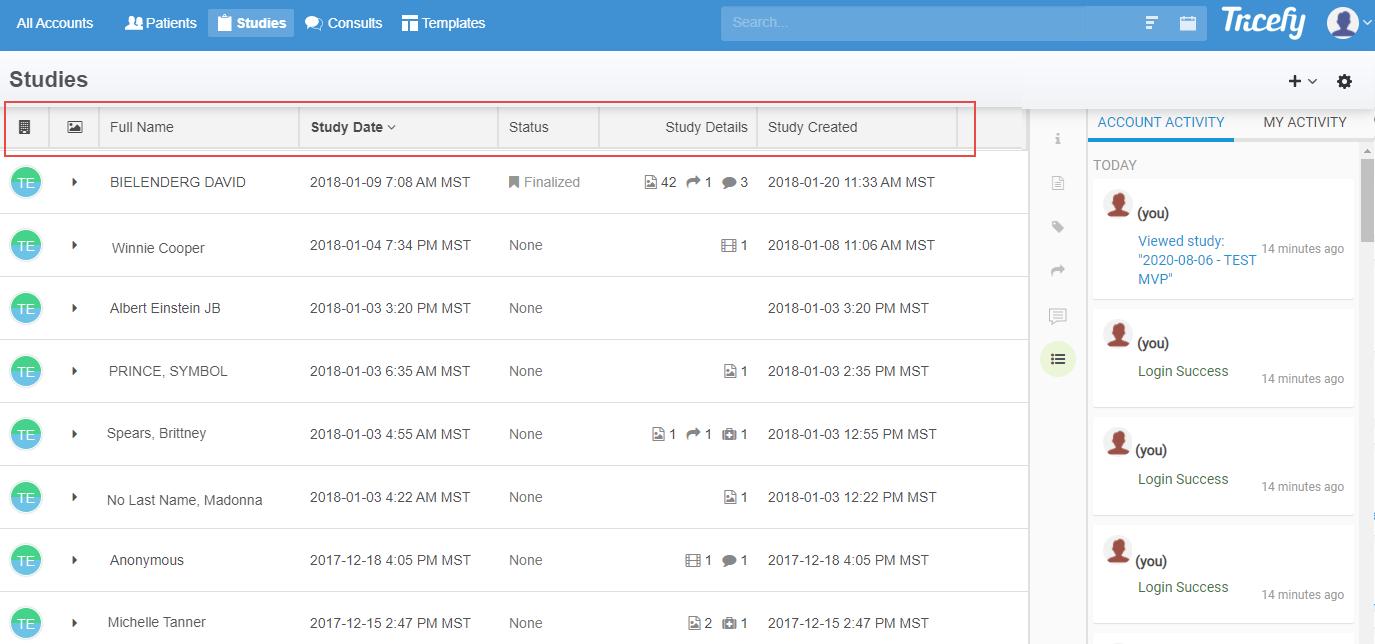
The information on your Study List is determined by the column headers (shown above in the red box). These are customizable using thePage Settings. Default columns are explained below.
Default Column Headers
The first column in the screenshot above displays your clinic's icon, which is uploaded in your Account Settings.
 See instructions for creating or changing your clinic's icon
The second column shows that thumbnails are closed (► indicates thumbnails are collapsed). Select the image icon in the column header to expand all thumbnails or a specific ► to display thumbnails for certain studies.
Other default columns shown include:
- Patient's full name and study date, as received from the ultrasound system
- Patient ID - a unique identifier assigned to each patient
- If a Patient ID is entered into the ultrasound system, the same ID is used in Tricefy
- If a Patient ID is not entered into the ultrasound system, Tricefy will auto-generate an ID
- Study Details - indicates the type of files included in the study, such as:
 indicates the number of images
 indicates the number of cine clips / videos
 indicates the number of SR files (measurement files)
 indicates the number of patient share links
 indicates the number of consults (shares with doctors)
 indicates the number of notes, including annotations
 indicates the number PDF files (or Tricefy finalized reports)
 indicates the number of Tricefy pending reports
You can change, remove and add additional column headers, such as Status, Gender, and Referring Physician.
Learn how to modify the column headers in your Study List
Column headers allow you to easily reorganize your Study List. Select a column header to group studies together and list them in alphanumeric or descending/ascending order.
For example:
- Selecting the Full Name column header will reorganize the studies so they are listed in alphabetical order by name (A - Z). Selecting Full Name again will reverse the order (Z - A).
- Selecting the Status column header will list the studies grouped together by status
Basic Operation
To select a study (examination), click (or touch, if using a tablet) anywhere on the study once. The study will turn blue:

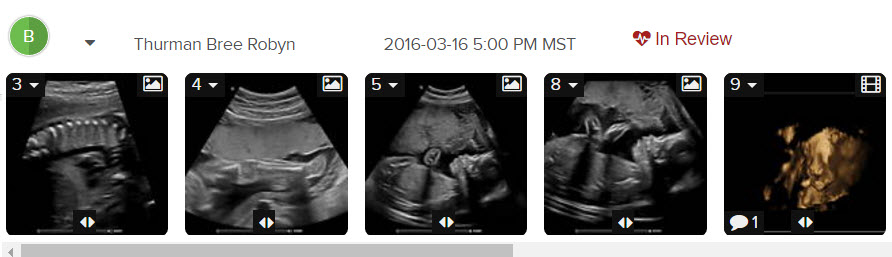
When the thumbnails are expanded, single-click the study to select all the thumbnails (selected studies will be outlined in green). Single-click the study again to deselect the thumbnails.
To specify certain images for selection, choose individual thumbnails.

When a study is selected, additional options appear at the top of the screen:

 Open in viewer: Opens the examination in the Viewer, where you can zoom, view multiple images simultaneously, play video clips, and create annotations
 Send to: Provides options for sending the examination to a patient, doctor (such as a referring physician) or external server, like an EMR
Learn more about the Send to Options
 Action menu: Displays a menu of actions that can be applied to the exam, such as downloading, deleting, or editing the study
Learn more about the Action Menu
 Label Icon: Displays labels that can be applied to the study (or applied to a selected thumbnail)
If you have Tricefy's adaptive reporting feature, you will also have the option to Create a Report.
Side (Information) Panel
When a study is selected, the content changes in the side panel to display information specific to the study. If you don't see the panel, select the![]() icon on the right side of your screen.
icon on the right side of your screen.
When the panel is open, you can view study information, attach files, apply labels, make notes, and see when the study was last shared.
Learn more about the Side Panel
Selecting Multiple Studies
To select multiple studies, hold the Shift key on the keyboard while making selections. When multiple studies are chosen, the side information panel is replaced with the following:
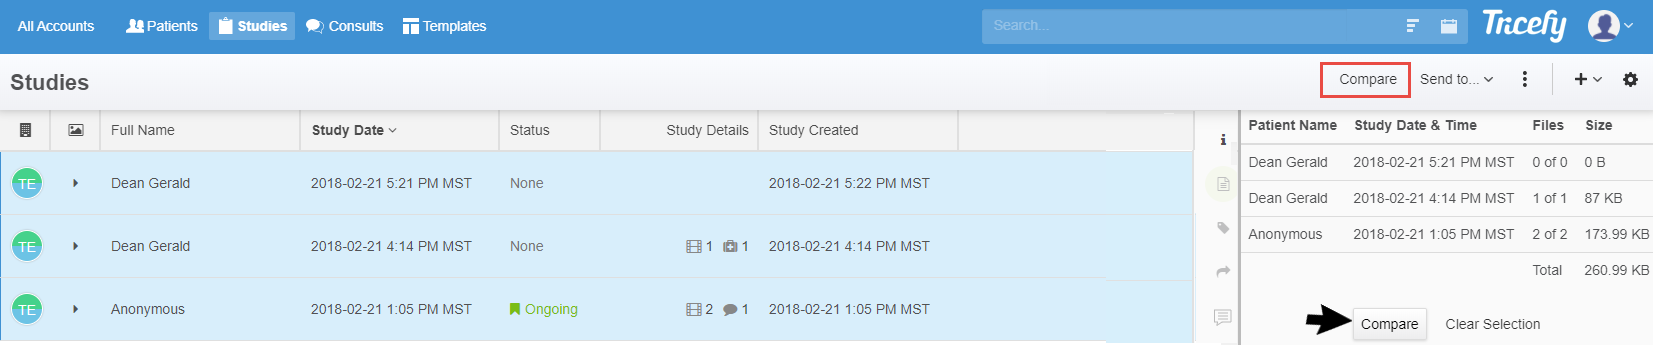
Selecting Compare will open all studies, side by side, in the Viewer.
Instructions for Comparing Studies
.
 Did you know you can automatically generate PDFs of your examinations? Learn how to create Study PDFs
 Copyright ©