Follow the process below to configure your ultrasound system to send data to Tricefy.
First, press the Utilities button located in the upper-right corner of the LCD monitor, and select System Setup:
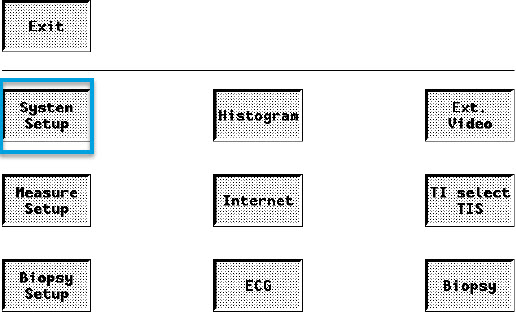
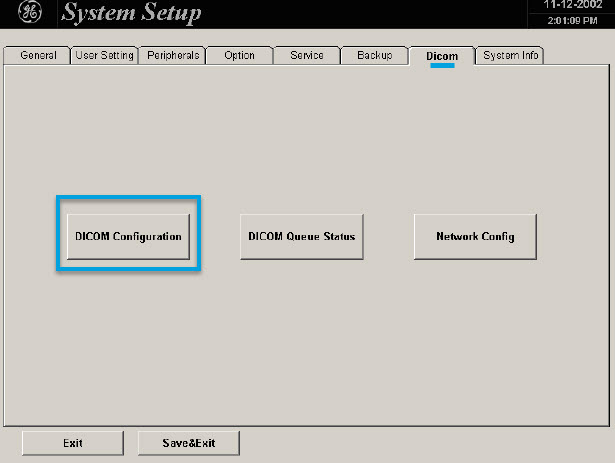
The Setup screen has eight tabs at the top. Choose the DICOM tab and click the DICOM Configuration button:
The DICOM Configuration screen allows you to add new stores. These stores are like warehouse receiving centers; they receive the data from your ultrasound system.
We will create two stores: one for sending images to patients and one for archiving.
First, we will add the archiving store by clicking the Add button:
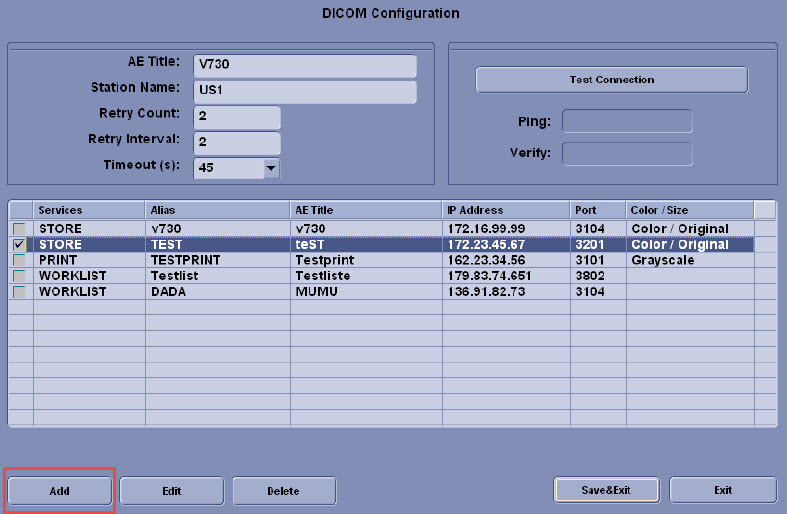
Enter the following information into the top fields, shown below in the blue box:
Services: Choose STORE from the drop-down menu
Alias: Tricefy-archive
AE Title = archive
IP Address = as shown during installation or refer to Account Settings
Port = 104 or 105 (refer to Account Settings)

Click Save.
Now, we will repeat the process to add a second store for patient sharing. Click the Add button again and enter the following information:
Services: Choose STORE from the drop-down menu
Alias: Tricefy-patient
AE Title = patient
IP Address = as shown during installation or refer to Account Settings
Port = 104 or 105 (refer to Account Settings)
Click Save.
We can make sure everything is working is by clicking the Test Connection button:
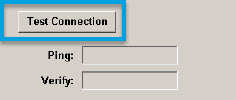
A Normal result in both the Ping and Verify fields indicates the ultrasound system is setup correctly and you are ready to send studies to Tricefy.
If you are selecting and sending individual study images, your system may first display a dialog box:
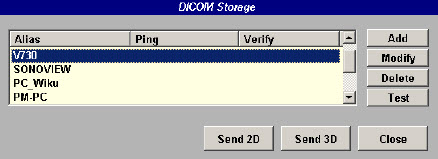
The DICOM stores, Tricefy-archive and Tricefy-patient, will now be listed.
For additional Help, press F1 on your ultrasound's keyboard to open an electronic version of the user manual.
References:
 Port and IP Address of the Uplink computer
GE Support page
Note: GE ultrasound machines are consistent in configuration and functionality across varying models.
 Copyright ©