 Refer to our Index page for instructions on setting up specific ultrasound systems
Notes:
- Ultrasound settings vary depending on manufacturer and model
- Uplink installation is not necessary if your ultrasound system has Tricefy Inside
- Before getting started, make sure the machine is not in Exam Mode
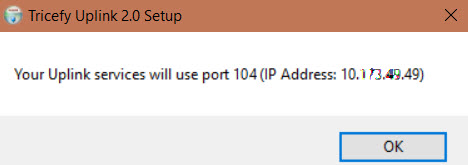
When you installed the Uplink software, a dialogue box displayed with an IP Address and Port number:
This information is also available on Step 2 of the Getting Started screen:
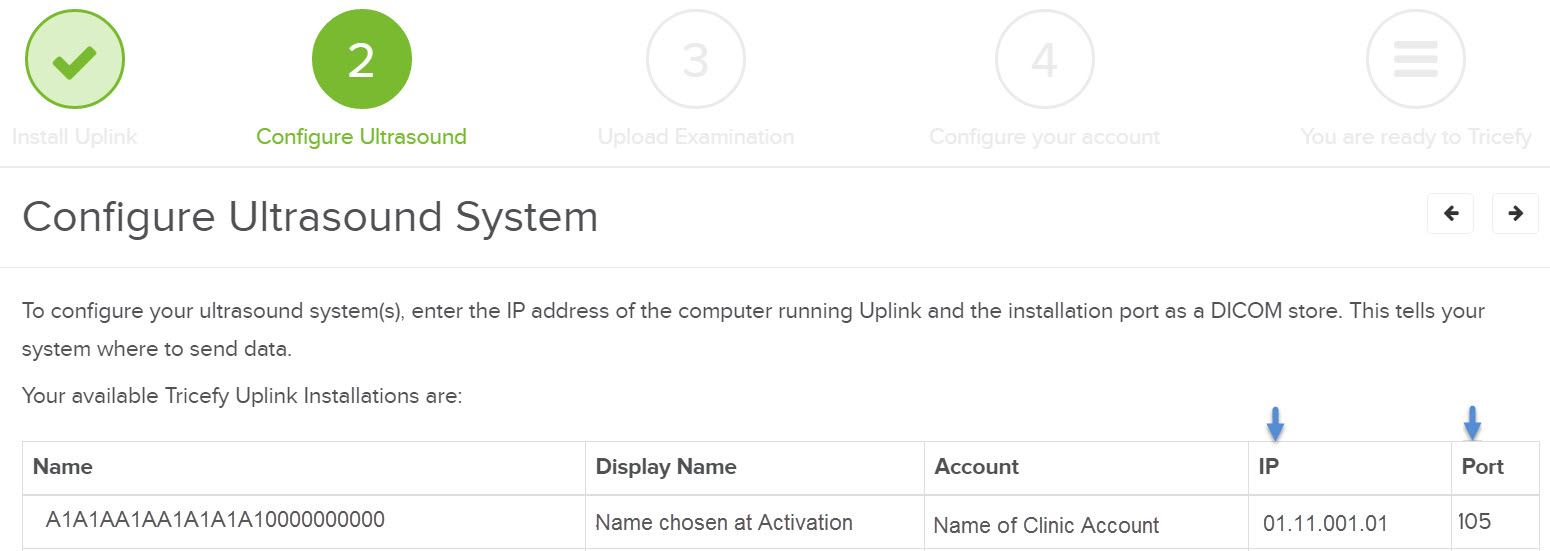
If you are configuring a new ultrasound system (or an additional system), this information is further available in your Account Settings.
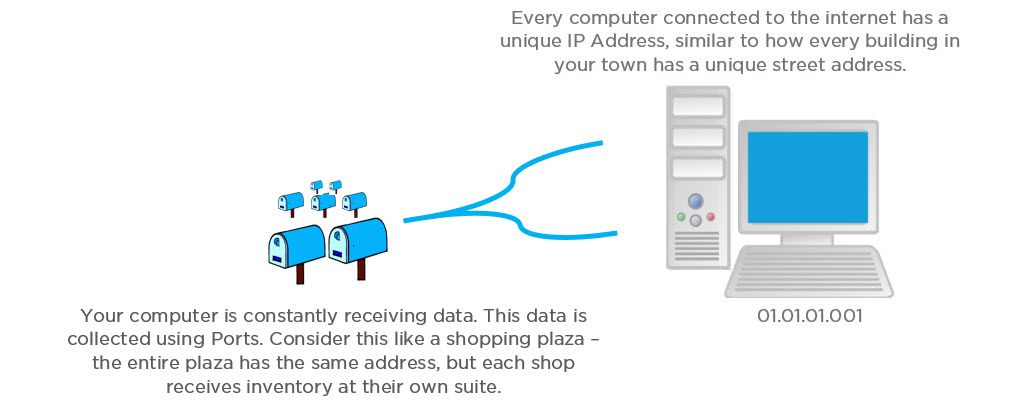
To configure our system, we need to create two DICOM stores. DICOM stands for Digital Imaging and Communications in Medicine; it is the file type for medical images (like word documents are .doc and picture images are .jpg).
A DICOM store tells your ultrasound system where to send data. In this case, data will be sent to the Uplink software by using the IP Address and Port as the destination.
We will create two stores: one for sending patient data and one for archiving. To do this, we must find your ultrasound's DICOM Configuration screen.
- It is usually located on a Settings or DICOM Settings screen. Some brands might have it on a Setup or DICOM Setup screen
- If you still can't find it, look for a Connectivity or Utilities screen, or a Startup or Setup menu
Once we find the screen, there will be a button that says "Add" or "New" for creating a new store.
Selecting this button will display fields for entering the IP Address and Port.
First, we will create a store for sending images to patients by entering the following information:
AE Title = patient
IP Address = as explained above
Port = 104 or 105 (as explained above)
Click Save.
Next, select Add (or New) again for creating a second store. This store will be used for archiving (you can skip this step if you do not archive with Tricefy). Enter the following:
AE Title = archive
IP Address = as explained above
Port = 104 or 105 (as explained above)
Click Save again.
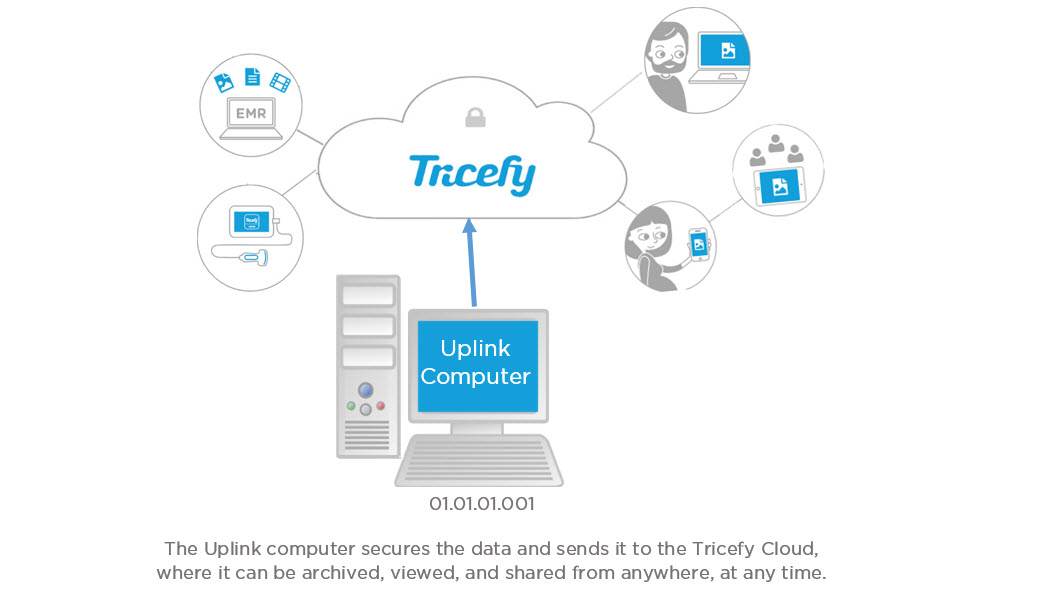
Now our system is configured like this:

After Uplink receives data from your ultrasound system, it will be immediately available in the Tricefy Cloud:
Testing Configuration
Usually, the DICOM Configuration screen (or similar screen on your ultrasound, where we created the stores) will have a test button. This button may say "Test", "Echo" "Ping", "Verify", or "Ping/Verify."
Sometimes, this button (or buttons) are physically located on the front of the machine.
If we press this button, the ultrasound system will conduct a test to make sure our DICOM stores are set up correctly.
If your machine has both a Ping and Verify button, press them both as it will conduct two different kind of tests.
- If the system returns a normal result, it means that your ultrasound system is sending data to Uplink and you are ready to Tricefy!
- If the test fails, it is most likely a networking issue - Click here for troubleshooting steps.
For additional help, refer to manufacturer documentation or contact the Trice Imaging Help Center at 858-397-5216.
 Copyright © 2016-2026 Trice Imaging, Inc. All rights reserved. 1065 SW 8th Street | PMB 5828 | Miami, FL 33130 | USA