To create a report, select an examination from your Study List, followed by the Create Report button at the top of the screen:

A pop-up window will display with templates that were customized by your Clinic Administrator. Select a category (shown below in the red box) and choose your template (shown below in the blue box):
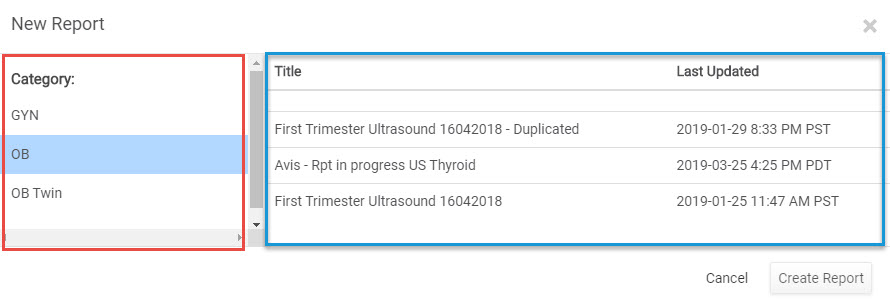
Once you have chosen your template, select Create Report.
A message will display while your report is created. Metadata, such as the patient's name, patient ID, birth date, measurements, and calculations performed by the ultrasound system will populate into the report.
From here, you can add and correct data.
Accessing Reports
Once you have created a report, you can access it again by opening the side info panel of the examination (on your Study List) and selecting the report. Reports will open in the Tricefy Viewer.
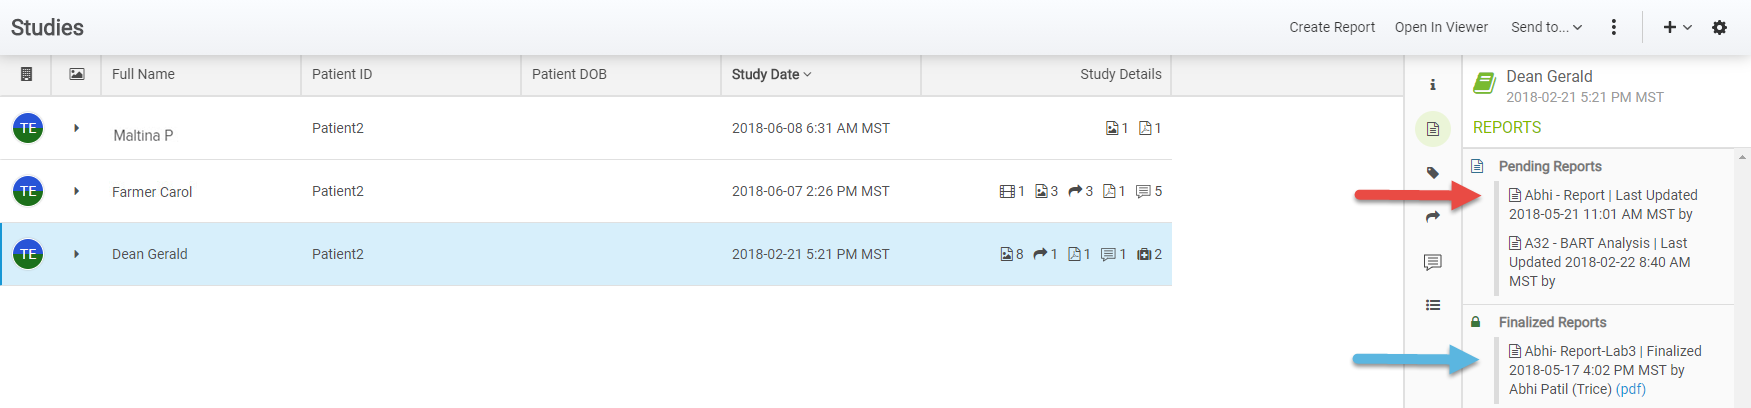
Selecting a Pending Report will open the report in editing mode. This means you can still add and correct data.
Selecting a Finalized Report will open the report as a PDF document. This means that the report can no longer be modified.
 Copyright ©