You change the information shown on the Patient Screen by selecting the Settings cog in the upper-right corner of your screen. The currently selected options are the default settings, however you can select, deselect and rearrange the order of your column headers.
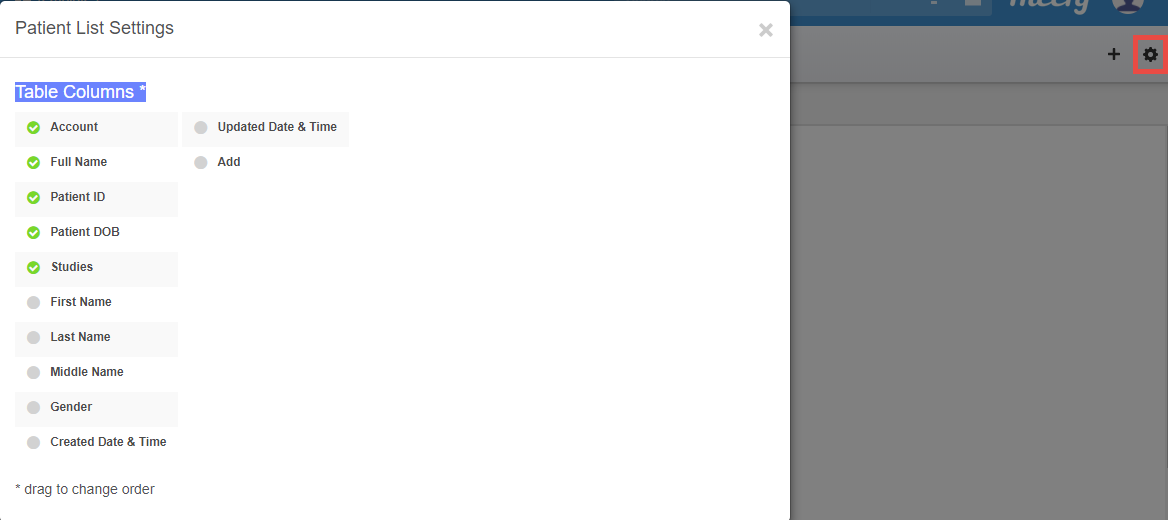
Selecting an active column header will deselect that option and remove it from your Patient screen, whereas selecting a non-active column header will activate it.
The order that they are listed on the pop-up window is the order that they will appear on the Patient screen. To change the order, click and hold your mouse button (or touch and hold if you are on a tablet) and drag the option to a new location.
In the example below, Account, Full Name, Patient ID and Patient DOB were deselected, and Last Name and First Name were selected and dragged to the top of the list. Add was also selected (we will explain this more below).
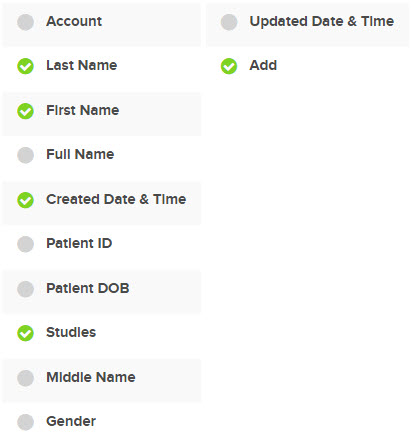
Our new columns look like this:

- Selecting the + button in the Add column opens a pop-up window for creating a study that does not have DICOM, such as a study that is just a report.
 See instructions for creating a study without DICOM
- If we select the Last Name column header, it will order our patients in alphabetical order (A-Z) by last name
- If we select column header again, it will reverse the order (Z-A)
- If we select Created Date & Time, patients will be added from the newest patient to have a study in Tricefy, to the oldest patient.
You will know how studies are listed because the selected header will be bold. In the example below, Last Name is selected so patients will be listed alphabetically by last name:

Saving your Settings
Changes to your settings are automatically saved and will be used the next time you log into Tricefy. Changes on this screen do not affect other members of your clinic.
You can return to the to default settings (shown in the first screenshot) by selecting Reset Settings within your Personal Settings.
 Copyright ©