When studies are created with your imaging system, DICOM information (the stuff you type into your imaging machine before or during an examination) is sent to Tricefy. This includes the patient's name, date of birth, etc.
If you are creating a study without your imaging system, such as a study that only contains reports, you'll need to enter that information (or choose the patient) manually.
First, create a study by selecting Create Study from the + menu on either the Studies or Consults screens:

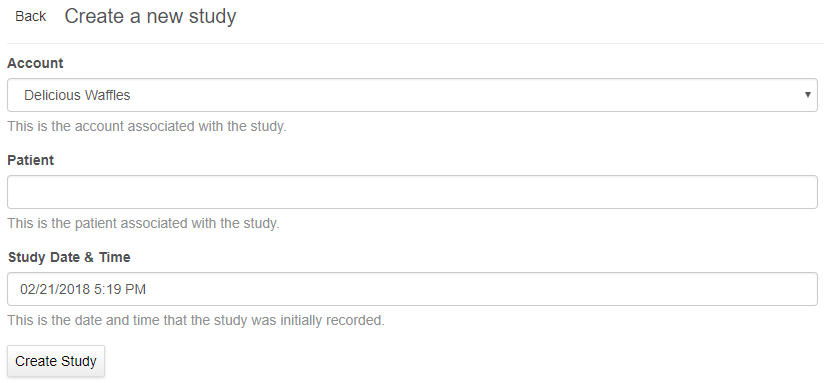
A pop-up window will display for entering the name of the patient and the date of the study:

Tricefy will locate the patient before you finish typing the name and auto-populate possible options in a drop-down menu for you to select:

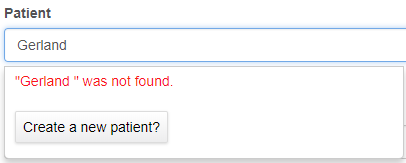
If the patient has never had a study in Tricefy before, you'll be prompted to add them:

- Select Create New Patient
- A pop-up window will display so that you can enter their first name, last name and date of birth
Next, select inside the Study Date & Time field to display a calendar for choosing the date of the examination. Select the blue clock icon for specifying a time:

Lastly, select the Create Study button to create the study.
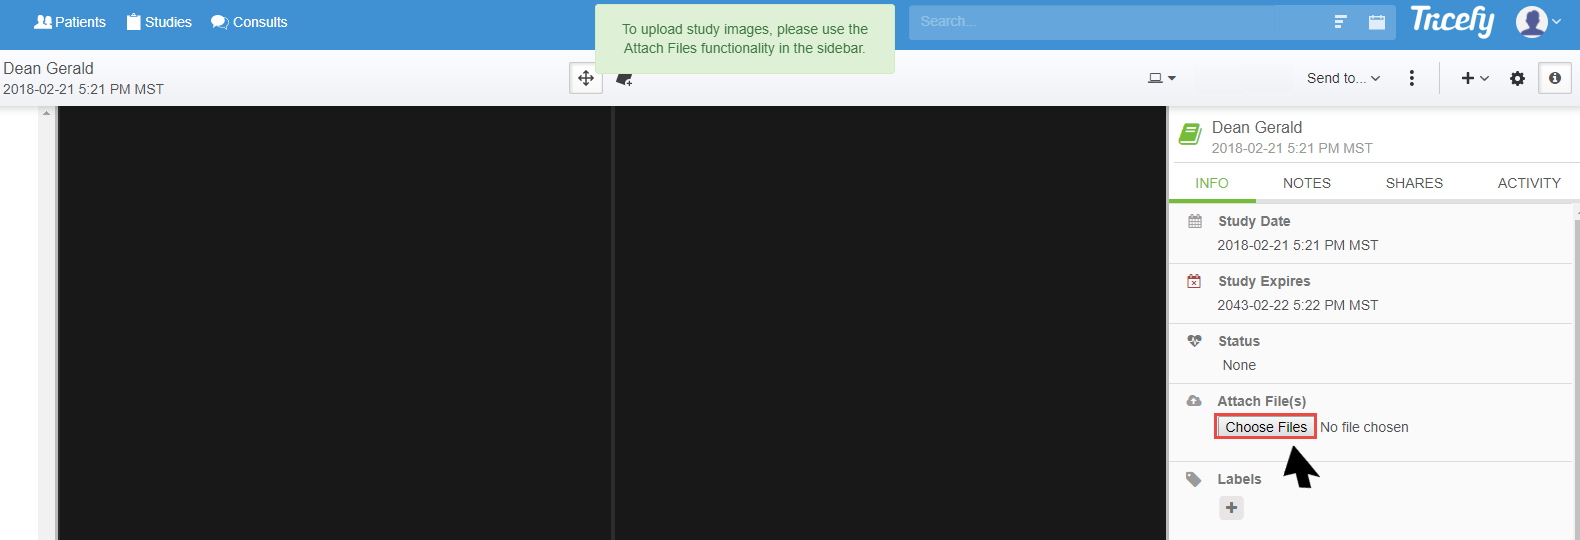
Once the study is created, it will automatically open in the viewer. Select the Choose Files button (shown below in the red box) to attach a report, PDF document, or image file to the study.

 Copyright © 2016-2026 Trice Imaging, Inc. All rights reserved. 1065 SW 8th Street | PMB 5828 | Miami, FL 33130 | USA