New GE Vscan Extend portable ultrasound systems have Tricefy pre-installed. Additional software is not necessary in order to use Tricefy; simply activate your account using the following steps. Please make sure your Vscan is connected to the internet before getting started.
GE Video Tutorial: Connect to the Cloud
 Learn how to connect your Vscan to Tricefy Cloud!
.
Setting up your Vscan
1) Select the menu icon (shown below in the red box) and choose Settings from the menu:

2) Open the GE Marketplace (under System Settings) and tap the Install button to install your Tricefy software:

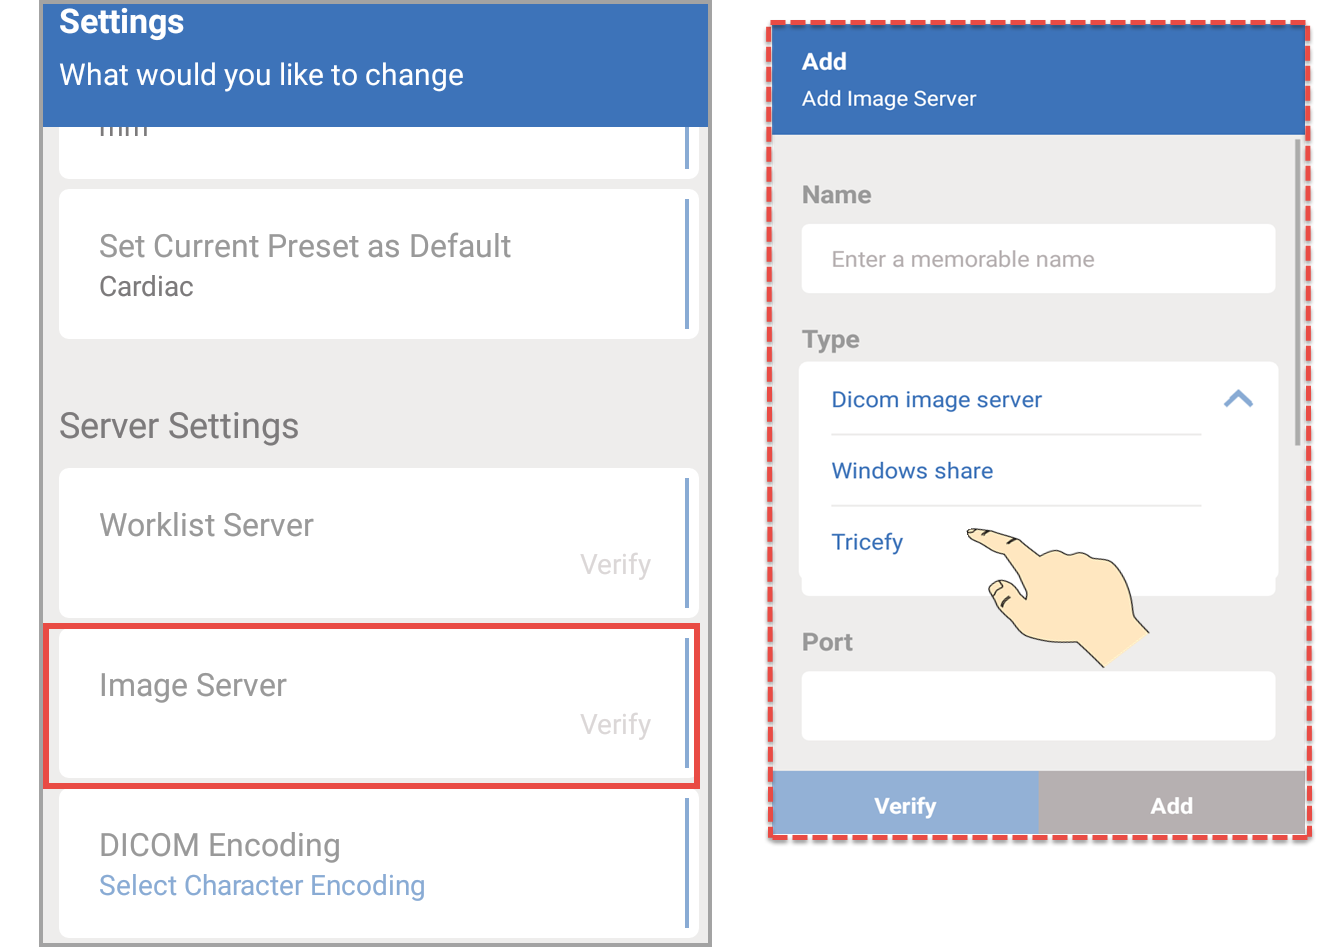
3) Select the Image Server option within the settings (under Server Settings), and choose Tricefy (which will automatically also be the Name of server).
- After you enter a name and choose Tricefy as the type, tap the Add button to add your new Tricefy server
4) A message will display as Tricefy initializes ( ); you may not even notice this screen since the process completes in just one second. Enter your email address and tap the Activate button (
 ). Tapping the Email Address text box will display a keyboard.
- If you have a Tricefy account, enter the email address that you use to log into Tricefy
- Email addresses are saved and auto-populated based on the first few letters so that you can easily and quickly switch between users/departments
If your Vscan has already been activated, it will skip to the final screen ( ).
).
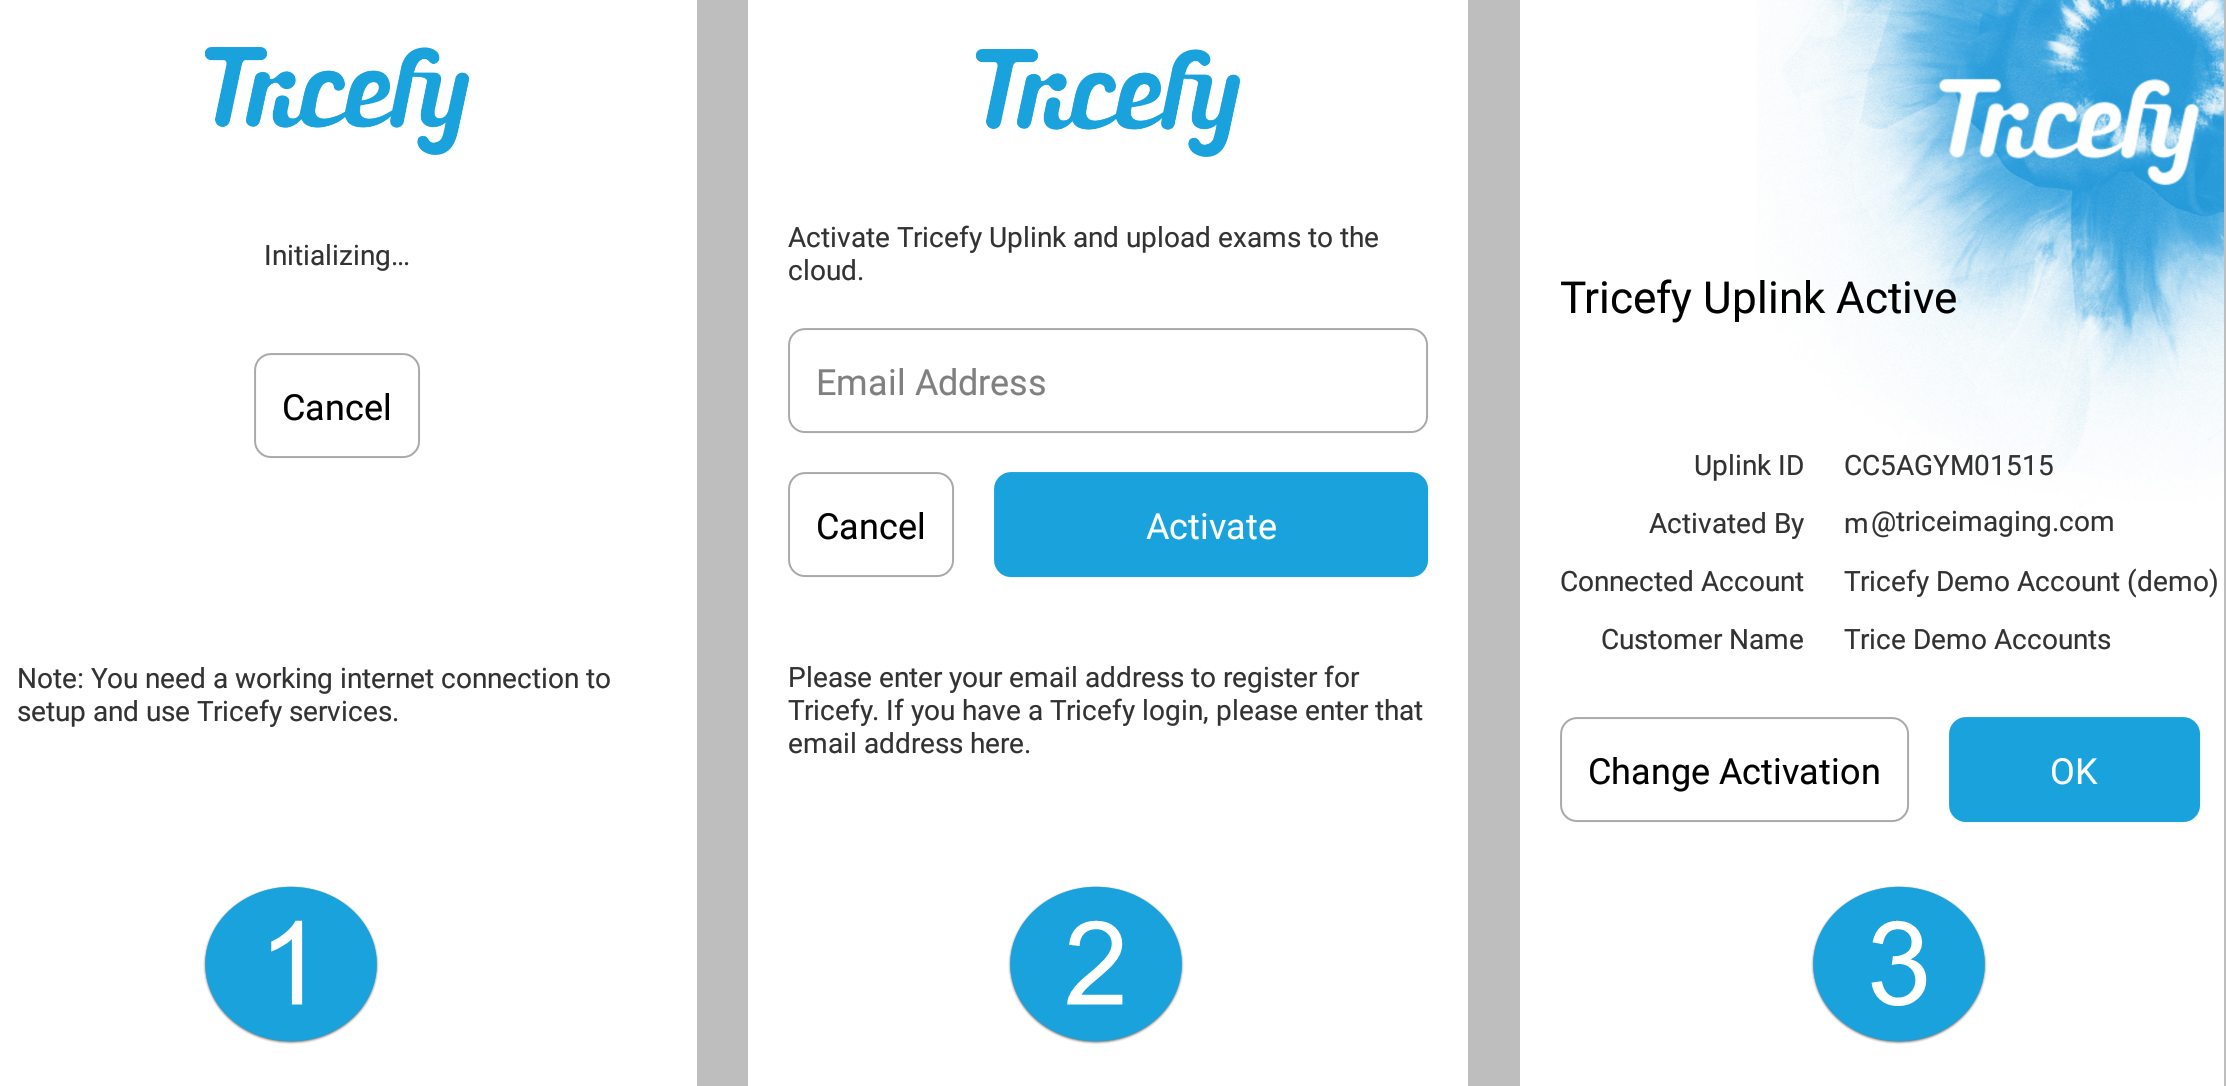
If a different department or a user with a different Tricefy account would like to use the Vscan, simply select Change Activation to enter a different email address.
- Email addresses are saved and auto-populated based on the first few letters so that you can easily and quickly switch between users/departments
Otherwise, select OK.
5) Tap Add to complete this process:
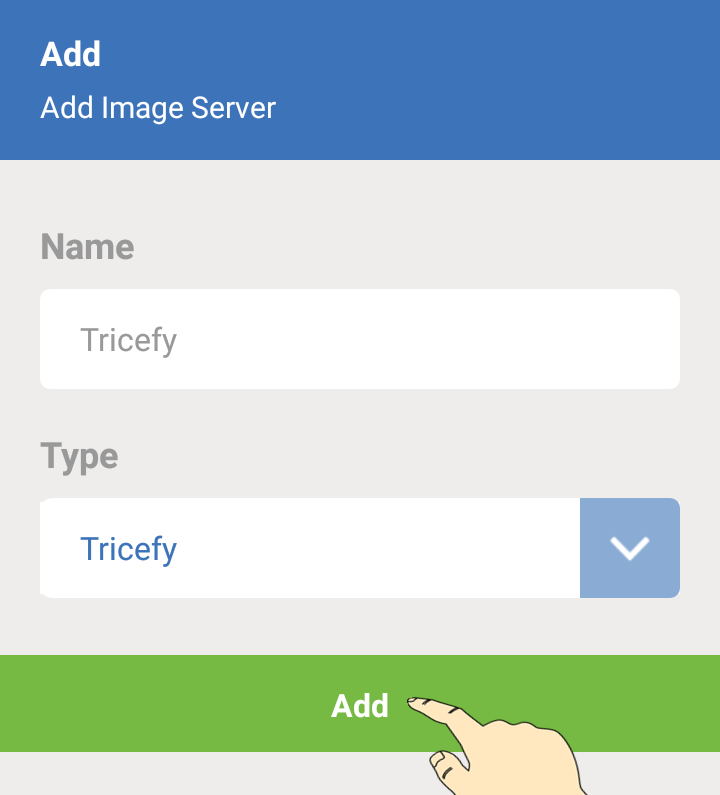
Your Vsca is now connected to the Tricefy Cloud!
.
Test your Tricefy
You will see Tricefy listed under Server Settings:
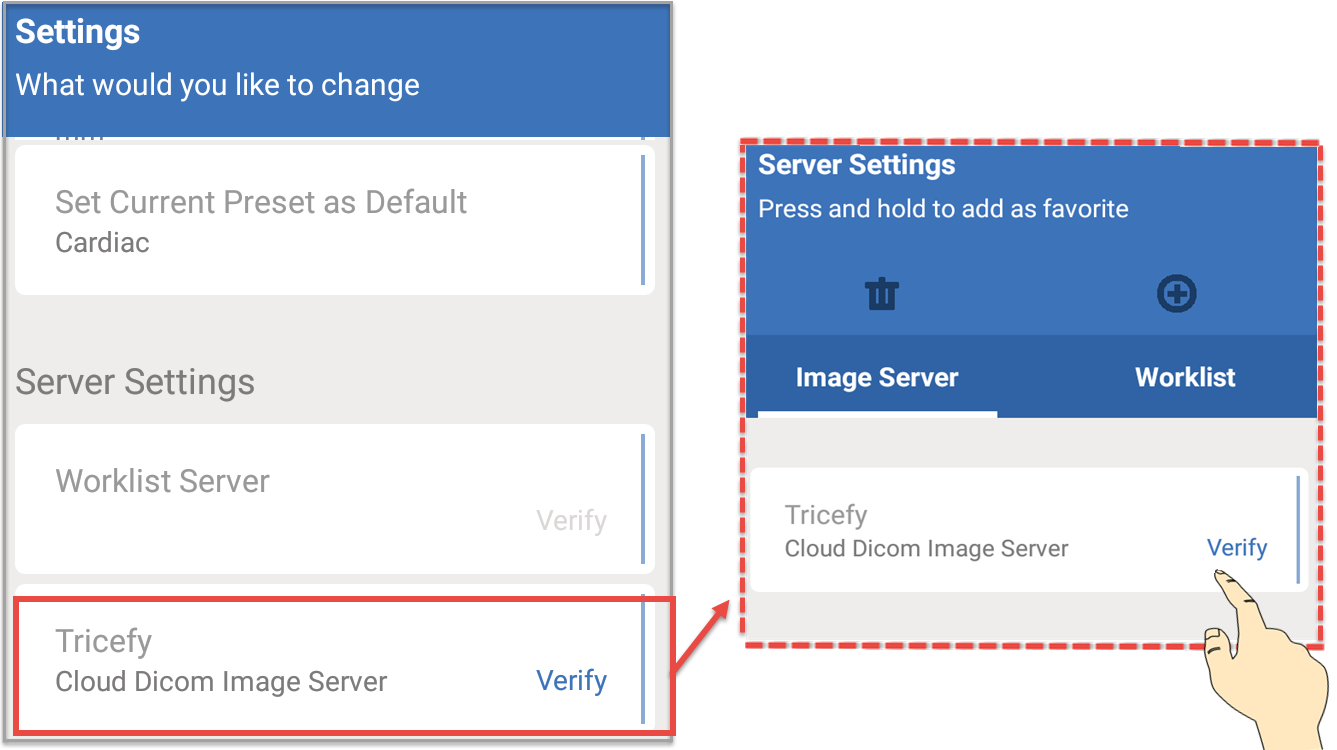
To make sure your Vscan can communicate with your new Tricefy server, tap Verify to perform a test.
If everything is working correctly, a Verify OK message will display
- If your test does not work, make sure your Vscan is connected to the internet
.
Make it your Favorite
Tap and hold the Tricefy button (listed under your Server Settings, as shown above) to make it your "favorite" (default) server. Select Add and your examinations will automatically upload to Tricefy!
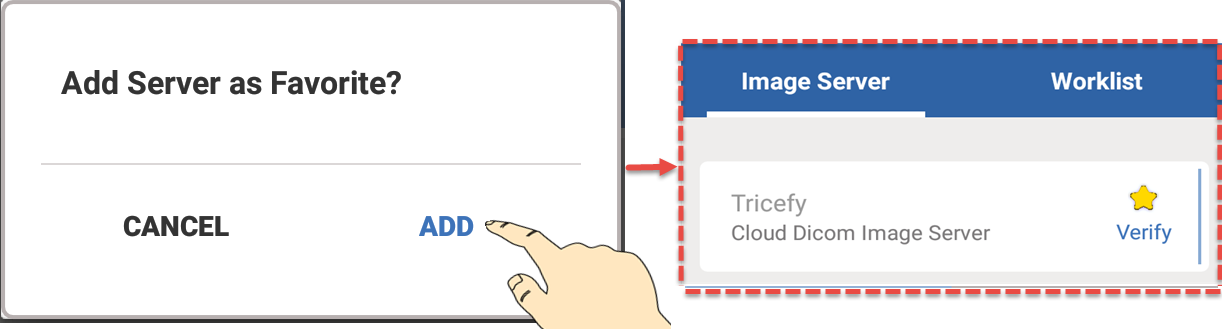
You will know that Tricefy was successfully added as your favorite because it be marked with a star.
Remember, in order to save an examination to any server using the Vscan, patient data for that exam must be entered.
.
Entering Patient Data
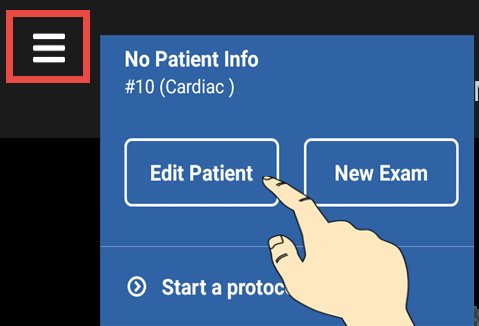
To enter patient data for an examination, select the menu icon (shown below in the red box) and select Edit Patient:
Enter the patient's first name, last name, birthday and patient ID number, followed by Save.
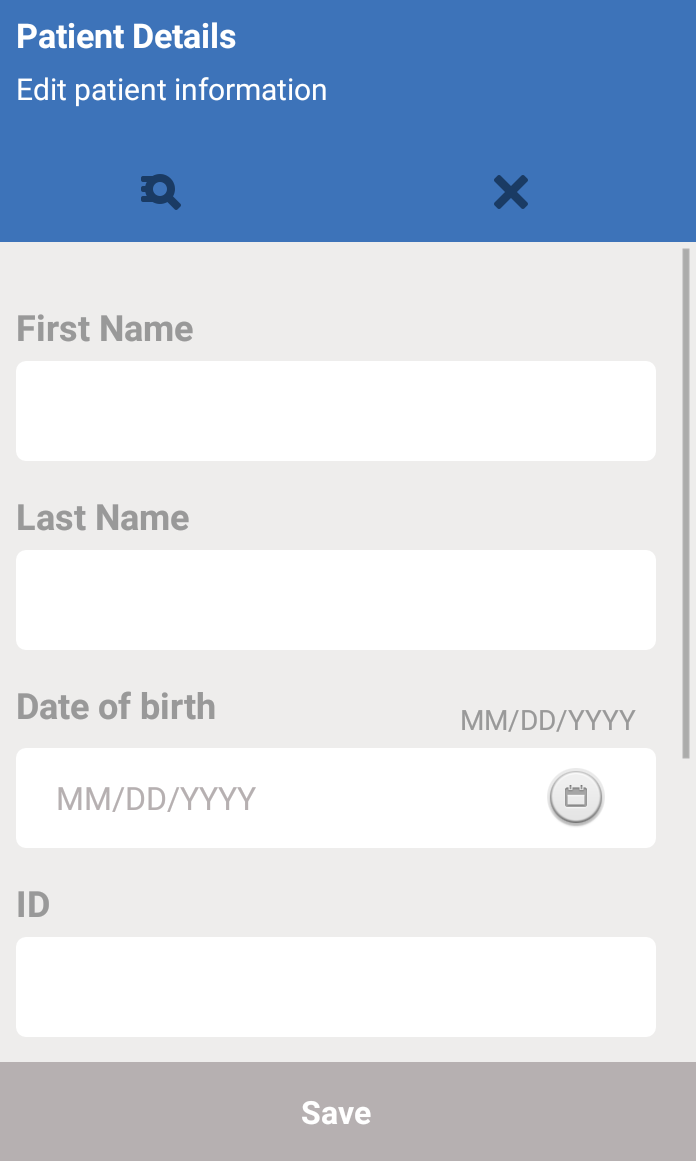
As long as information is entered into at least one field, your exam will be uploaded to Tricefy. You can also opt to select a patient from your worklist.
 Copyright © 2016-2026 Trice Imaging, Inc. All rights reserved. 1065 SW 8th Street | PMB 5828 | Miami, FL 33130 | USA