Follow the process below to configure your ultrasound system to send data to Tricefy.
Select the Utility hard-button located on the machine:
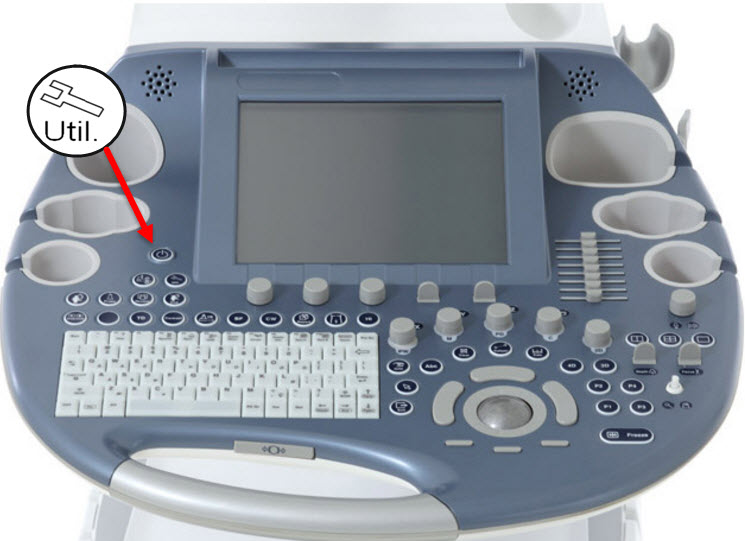
The Utility screen will display on the LCD monitor. Select System Setup:

On the System Setup screen, we will select Connectivity from the under the Settings menu (shown below in the red box), followed by the Device Setup tab (shown in the green box).

The Device Setup tab will display five buttons. Choose the first button - DICOM Configuration:
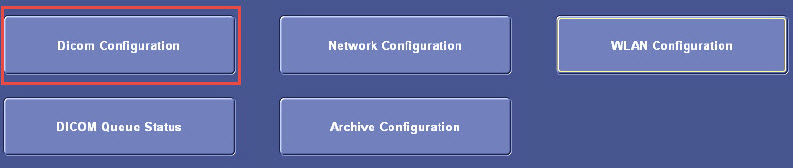
The DICOM Configuration screen allows you to add new stores. These stores are like warehouse receiving centers; they receive the data from your ultrasound system.
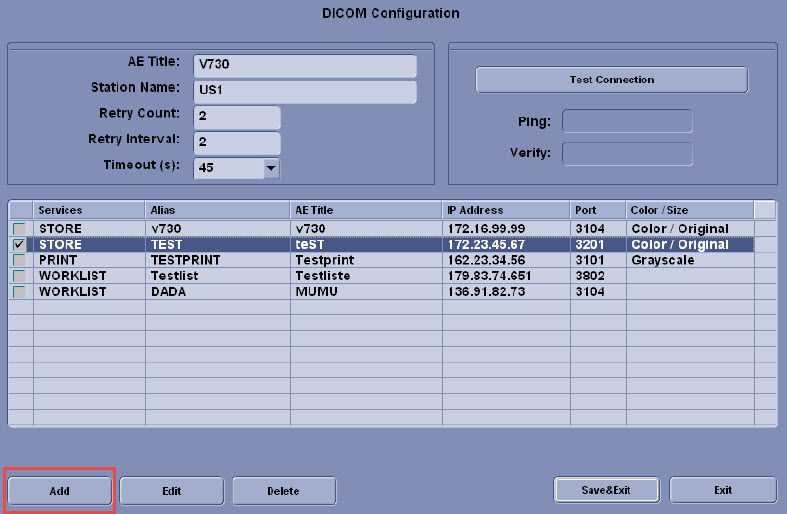
We will create two stores: one for sending images to patients and one for archiving.
First, we will add the archiving store by clicking the Add button:
Enter the following information into the top fields, shown below in the red box:
AE Title = archive
IP Address = Refer to Account Settings
Port = 104 or 105 (refer to Account Settings)
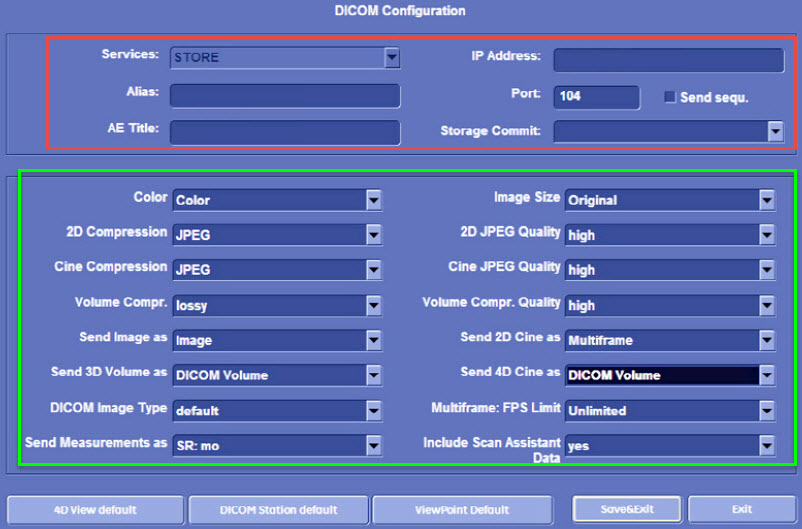
By default, the compression settings, shown above in the green box, will have to be adjusted. Don't worry, adjusting these settings will not lower image quality. Modify the compression settings to match the following:
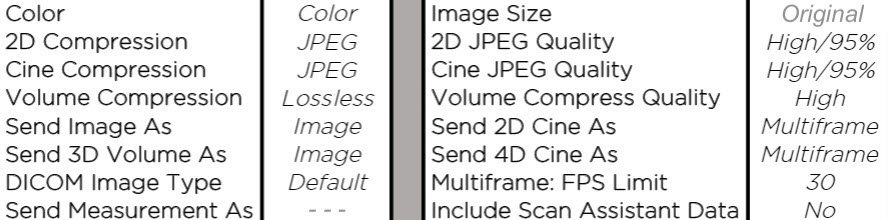
Once you are done modifying the compression settings, click Save & Exit:

Next, we will add the patient-sharing store by clicking the Add button again. Follow the steps outlined above and enter the following information into the top fields:
AE Title = patient
IP Address = Refer to Account Settings
Port = 104 or 105 (refer to Account Settings)
Modify the compression settings, just like we did in the previous step, to the match following:

References
 How to test your imaging system Port and IP Address of the Uplink computer GE Support page
Note: GE ultrasound machines are consistent in configuration and functionality across varying models.
 Copyright ©