Select Members and Privileges in your Account Settings to invite new members to your clinic's account, remove old members, and configure password rules.

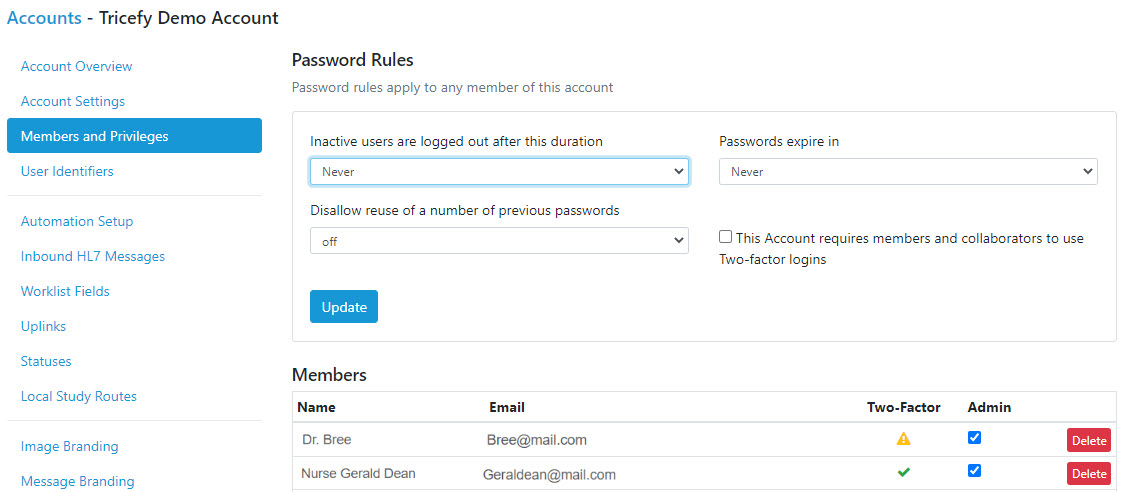
Password Rules
Configure password rules to implement additional security. These rules will affect all users.
- Timeout: Automatically logs out of a user's account after the specified time (5 - 60 minutes) of inactivity
- Users will have to log back into Tricefy when they return
- Select None to disable this feature
- Passwords Expire In: Prompts users to create a new password every 15, 30, or 90 days - choose an option from the drop-down menu.
- Select Never to disable this feature.
- Disallow Reuse of a Number of Previous Passwords: Determines how many previous passwords (1 -12) to store so that users cannot reuse them.
- Selecting 1 means that a user cannot change their password to the password that they are currently using or their previous password
- This account requires members and collaborators to use two-factor logins (checkbox): Enforces all members of the Tricefy account to use two-factor authentication to sign into Tricefy
- If enabled, users will automatically be directed to the appropriate settings page to enable two-factor authentication for their user profile (located within the Two-Factor tab of their profile settings) before using Tricefy
Single Sign-On (SSO)
For more information see this article: https://www.tricefy.help/help/single-sign-on
Managing Members
Existing members (those who have accepted an account invitation) are listed under Members.
- To remove a member from the account, select Delete. When a member is deleted, they can no longer view studies, consults, or patient information belonging to the clinic.
- To grant a member administrative privileges, check the Admin checkbox next to the member's name. This will allow the user to invite other members, delete members, and access/modify account settings.
- Uncheck this box to remove administrative privileges from a member
Inviting New Members
To invite new members, select New Invite:

- Type the email address of the person(s) you wish to invite into the first text box
- Select your preferred language from the drop-down menu; this is the language that will be used in the invitation
- Check the Admin Privileges checkbox if you would like the member to be an Account Administrator. If multiple email addresses are entered, this action will make them all administrators. Send two batches of invitations to avoid this scenario.
- Select Send Invitations to distribute email invitations
Resending Invitations
Sent invitations that have not been accepted, are listed under Pending Invitations.
Select Resend Email to resend the invitation to the same email address.
- To resend the invitation to a different email address, select Copy Invitation Link. The link to the invitation will be copied onto your clipboard so that it can be pasted into the body of an email or into a chat window. To paste the link, press Ctrl-V on your keyboard.
To cancel the invitation, select Delete. The link will no longer be functional.
 Copyright ©